Last Updated: November 16, 2026
Quick Summary
A home inspection checklist is a structured list of the systems, components, and rooms you and your inspector evaluate before you commit to a property. It covers the foundation, roof, drainage, plumbing, electrical, HVAC, and interior, and turns a walkthrough into a documented record of property condition.
- Inspectors examine only what is visible and accessible, documenting condition with photos and notes.
- Stair-step cracks in brick or widening corner gaps signal movement that needs an engineer.
- Treat electrical findings as priority items because safety hazards there are non-negotiable.
- Sort findings into four tiers, starting with safety and habitability items that are non-negotiable.
- Put every agreed remedy in a written amendment naming items, remedy, responsible party, and deadline.
Table of Contents
- Why a Home Inspection Checklist for Buyers Matters
- What Home Inspectors Check: Systems and Structure
- Room-by-Room Checklist: Plumbing, Electrical, HVAC, and Interior
- Your Printable Home Inspection Checklist for Buyers
- Home Inspection Red Flags That Should Give You Pause
- How to Prepare for and Attend the Inspection
- Questions to Ask a Home Inspector Before You Hire One
- What a Visual Inspection Cannot Catch
- After the Report: Prioritizing Findings and Negotiating
- Scheduling Your Pre-Purchase Inspection
- Frequently Asked Questions
Why a Home Inspection Checklist for Buyers Matters
A home inspection checklist for buyers is a structured list of the systems, components, and rooms you and your inspector evaluate before you commit to a property.
Buyers who arrive prepared tend to catch far more than buyers who show up and hope for the best. The checklist is your defense against expensive surprises.
Most guides hand you a list and stop there. This one goes further.
What Home Inspectors Check: Systems and Structure
A standard inspection covers the home's major systems and structural components, from the roof down to the foundation. Inspectors examine what is visible and accessible, then document condition with photos and notes.
The InterNACHI Standards of Practice define the baseline scope most certified inspectors follow. Here is what that covers in practice.
Foundation, Structure, and Exterior Walls
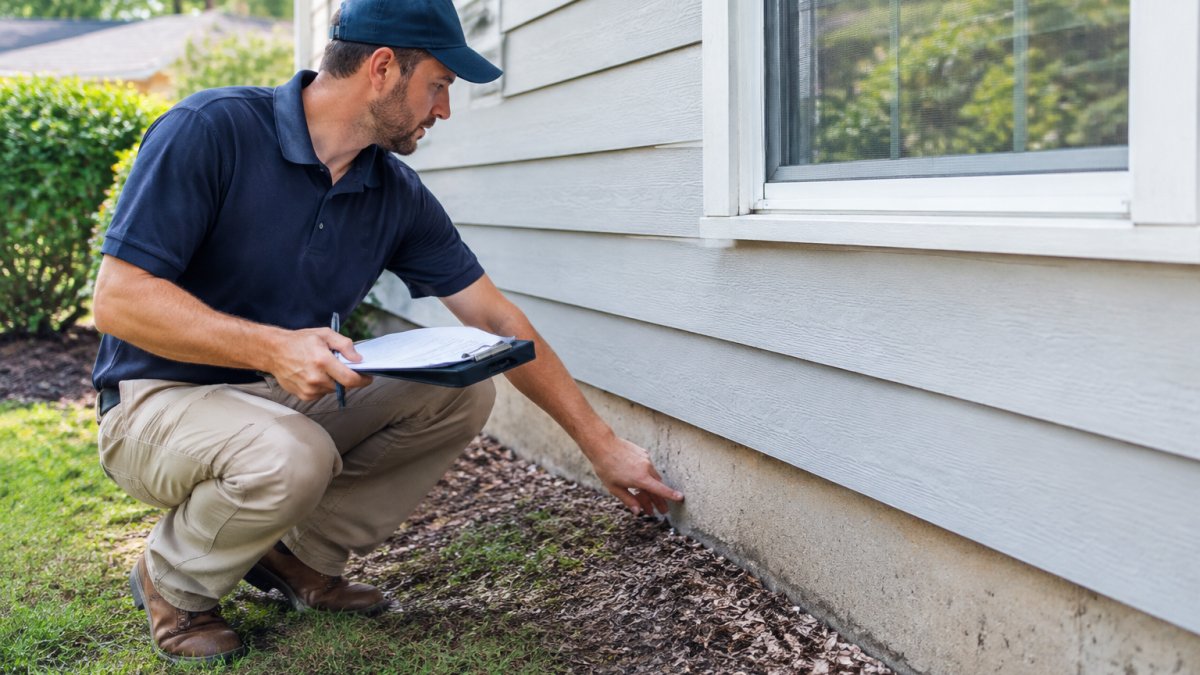
The inspector looks for cracks, settlement, and movement in the foundation, then traces how the structure above responds. Exterior walls and siding get checked for rot, damage, and proper flashing. Watch out: hairline cracks in a slab are common and often cosmetic, but stair-step cracks in brick or widening gaps at corners signal movement that needs an engineer.
Roof, Gutters, and Drainage
Roof condition, shingle wear, and flashing details top the list, followed by gutters and downspouts. The inspector checks that gutters carry water away from the foundation and that grading slopes away from the house. Poor drainage is one of the most common causes of water intrusion, and it is one of the cheapest problems to fix early.
Room-by-Room Checklist: Plumbing, Electrical, HVAC, and Interior
The interior walkthrough checks how the systems actually function under normal use. Inspectors run faucets, test outlets, and operate the HVAC, noting anything that fails to perform.
Plumbing, Water Pressure, and Leaks
Plumbing checks cover supply pipes, drains, fixtures, and water pressure. The inspector looks for active leaks, corrosion, and slow drains, and notes the water heater's age and condition. Low pressure at one fixture points to a clogged aerator; low pressure everywhere suggests a supply problem worth investigating.
Electrical System, Panel, and Outlets
The electrical panel, wiring type, and outlet function all get tested. Inspectors note double-tapped breakers, missing GFCI protection near water, and any wiring that looks amateur. Outlets get checked for polarity and grounding. Safety hazards here are non-negotiable, so treat electrical findings as priority items.
Your Printable Home Inspection Checklist for Buyers
Use this printable home inspection checklist for buyers to organize your own walkthrough and to follow along during the inspection. Print it, bring a clipboard, and note what you see in each area.
| Area | What to Check | Why It Matters |
|---|---|---|
| Foundation and structure | Cracks, settlement, sticking doors | Structural repair is costly |
| Exterior walls and siding | Rot, damage, flashing | Water entry and pest access |
| Roof and shingles | Wear, missing shingles, flashing | Leaks and replacement cost |
| Gutters and downspouts | Attachment, flow, discharge point | Foundation water damage |
| Grading and drainage | Slope away from house | Water intrusion |
| Attic and ventilation | Insulation, vents, moisture stains | Heat, moisture, energy loss |
| Basement and crawl space | Moisture, standing water, vapor barrier | Mold and structural risk |
| Plumbing and water pressure | Leaks, corrosion, flow at fixtures | Hidden water damage |
| Electrical panel and outlets | Breakers, GFCI, wiring type | Fire and safety hazards |
| HVAC and water heater | Operation, age, condition | Replacement cost |
| Windows, doors, and seals | Cracks, operation, weatherstripping | Energy loss and water entry |
| Interior walls, ceilings, floors | Stains, cracks, soft spots | Hidden leaks and damage |
| Appliances | Operation and age | Immediate replacement cost |
| Safety hazards and pests | Smoke detectors, pest evidence | Health and safety |
Home Inspection Red Flags That Should Give You Pause
Certain findings deserve more than a note in the report. Red flags are the items that change the math on a purchase or warrant a specialist before you proceed.
The serious ones include active water intrusion, foundation movement, roof-at-end-of-life, outdated or unsafe wiring, and any evidence of pest infestation.
If a finding involves structural, electrical, or gas systems, bring in a licensed specialist before closing. That referral is not a sign the inspection failed; it is the checklist doing its job.
How to Prepare for and Attend the Inspection
Attending the inspection is the single best way to understand your future home. Plan to be there for the full walkthrough, dress for a crawl space, and bring your checklist and a notepad.

Ask questions as you go, and take your own photos. Flexible scheduling matters here, and Safe at Home Services, LLC offers flexible scheduling.
Questions to Ask a Home Inspector Before You Hire One
Ask these before you book, so you know exactly what you are paying for:
- Are you licensed and certified, and by which bodies?
- What does your report include, and how soon will I receive it?
- What is your scope, and what do you not inspect?
- Are you insured, and can you provide proof?
- Do you inspect pools, and do you offer mold or wind mitigation reports?
A qualified inspector answers these without hesitation. Safe at Home Services, LLC is veteran-owned, AHIT and InterNACHI certified, and carries Errors & Omissions and General Liability insurance.
What a Visual Inspection Cannot Catch
A general home inspection is a visual, non-invasive evaluation of readily accessible systems and components. That scope is valuable, but it has hard limits, and buyers who understand those limits make better decisions and avoid surprises after closing. Here is what a standard inspection does not cover and when to bring in a specialist.
The Core Limits
Inspectors do not dismantle systems, open walls, move stored items, or dig. They do not predict remaining service life, and they do not guarantee that a system will not fail tomorrow. They observe condition at the time of inspection and report what is visible and accessible. Anything concealed, behind drywall, under carpet, inside a chimney flue, beneath a slab, or underground, is outside the scope unless a specific ancillary service is purchased.
What Commonly Falls Outside the Standard Scope
- Roof: inspectors may view the roof from the ground, a ladder, or by walking it, depending on safety and access. They do not warranty the roof or determine remaining life. A roofer can provide a closer evaluation and a replacement estimate.
- Foundation: a general inspector notes cracks and movement but does not perform structural engineering. A structural engineer evaluates whether movement is active, what caused it, and what repair costs.
- Sewer and septic: the sewer line from the house to the street is underground and not part of a standard inspection. A sewer scope by a plumber is the common way to check for collapsed lines, roots, and bellies. Septic systems require a separate septic inspection, including pumping and drain-field evaluation.
- Radon: radon is invisible and odorless. Radon can only be detected through testing, because a visual inspection cannot detect it (the EPA). Testing is a separate service with its own equipment and lab analysis.
- Mold and moisture: inspectors note visible moisture stains and musty odors, but they do not test for mold or open walls to find hidden growth. Mold testing and remediation assessment are separate services.
- Pests: wood-destroying insects and rodents require a pest inspection, often by a licensed pest control operator. A general inspector may note evidence but does not perform a pest inspection.
- Chimney and fireplace: a Level 2 chimney inspection by a certified chimney sweep is the standard for evaluating flue condition, and it is separate from a general inspection.
- Pools and spas: some inspectors offer pool inspections as an add-on; otherwise, a pool contractor evaluates equipment, surfacing, and safety.
- Well and water quality: homes on private wells need a well inspection and water quality testing, which are separate from the general inspection.
- HVAC internals: inspectors operate the system under normal controls but do not evaluate refrigerant charge, heat exchanger integrity, or duct leakage in detail. An HVAC technician performs that work.
How to Use This Map
When the report flags an item for further evaluation, treat that as a to-do, not a formality. Schedule the specialist before your contingency deadline, get a written opinion and a price range, and then decide whether to negotiate, accept, or walk.
Watch out: a clean general inspection report is not a warranty. It means the inspector did not observe a defect in the visible, accessible areas on the day of the inspection.
After the Report: Prioritizing Findings and Negotiating
Most buyers read the report once, feel overwhelmed, and either over-negotiate everything or accept everything. The report is only useful if you convert it into a prioritized action list and a negotiation strategy before your inspection contingency deadline. Here is a practical framework.
Step 1: Read the Report Twice Before You Call Anyone
First pass: read the summary and note every item the inspector flagged as a safety concern, a major defect, or a recommendation for further evaluation. Second pass: read the full narrative for each system and highlight anything with photos, measurements, or language like "active leak," "not functioning," "at end of service life," or "recommend licensed contractor."
Step 2: Sort Findings Into Four Tiers, Not Three
The common advice is safety, major cost, and maintenance. A more useful sort adds a fourth tier for items that require a specialist before you can even price the problem.
- Tier 1, Safety and habitability: active gas leaks, exposed wiring, missing GFCI protection near water, no smoke or carbon monoxide detectors, blocked combustion vents, active water intrusion, or a roof with active leaks. These are non-negotiable and should be addressed before closing or reflected in price.
- Tier 2, Major systems at or near end of life: roof, HVAC, water heater, electrical panel, sewer line, foundation movement. These are the items that drive real money and belong in the negotiation.
- Tier 3, Specialist evaluation needed: items the inspector flagged but could not diagnose, such as a foundation crack that may need a structural engineer, a roof that may need a roofer, or a sewer line that may need a camera scope. Do not negotiate these blind; get the specialist opinion first, then negotiate with a real number.
- Tier 4, Maintenance and cosmetic: caulking, minor grading, a sticky window, a missing outlet cover, worn weatherstripping. These go on your own to-do list, not the seller's.
A common pattern is that buyers spend negotiating energy on Tier 4 items because they are easy to see, while leaving Tier 2 items unaddressed because the report language is technical. Resist that.
Step 3: Decide What to Ask For
There are four standard asks, and they are not interchangeable:
- Repair by seller before closing: best for safety items and items the seller's contractor can fix quickly. Require a licensed contractor and a receipt, and re-inspect before closing.
- Credit at closing: best for items you want to fix yourself or that are hard to repair on a deadline. A credit is cash toward your closing costs, and lenders cap how much seller credit you can receive, so confirm the cap with your loan officer.
- Price reduction: best for large, known defects where you want the money off the purchase price rather than a closing credit. This affects your loan amount and monthly payment, so run the numbers with your lender.
- Walk away: the inspection contingency exists for a reason. If Tier 1 or Tier 2 findings are severe enough that the seller will not budge, exercising the contingency is a legitimate outcome, not a failure.
Watch out: asking for everything on the report can stall a deal and signal to the seller that you are not serious. Pick the items that matter, document them with the report, and make a clear, single request.
Step 4: Mind the Contingency Clock
Your inspection contingency has a deadline, and every step above takes time. Specialist evaluations, contractor bids, and seller responses can each eat several days. Build a timeline backward from the deadline: report delivery, your review, specialist scheduling, negotiation, and seller response. If the timeline is tight, ask your agent about extending the contingency in writing before it expires. Missing the deadline can waive your right to negotiate or exit.
Step 5: Get It in Writing
Whatever you agree to, put it in a written amendment that names the specific items, the remedy, the responsible party, and the deadline. Verbal promises from a seller or listing agent are not enforceable. If the seller agrees to repair, specify licensed contractor, permits where required, and a re-inspection before closing.
The report is evidence. Keep it, keep your photos, and keep the amendment. If a dispute arises later, that paper trail is what protects you.
Scheduling Your Pre-Purchase Inspection
The right time to schedule is right after your offer is accepted, before any contingency deadline. Waiting until the last week compresses your options and your negotiating room.
At Safe at Home Services, LLC, we help buyers across the Port Richey area make informed decisions with independent, thorough inspections. Our team is veteran-owned, AHIT and InterNACHI certified, and insured with Errors & Omissions and General Liability coverage, and we deliver clear, photo-rich reports.
Frequently Asked Questions
What is the biggest red flag in a home inspection?
Structural problems top the list: foundation cracks that run diagonally, bowing walls, and sagging rooflines signal movement that can cost tens of thousands to fix. Water intrusion comes close behind, because moisture in a basement or crawl space often points to grading, drainage, or roof failures that compound over time. Electrical hazards such as an outdated panel or double-tapped breakers are also serious because they affect safety and insurance. Any red flag on your home inspection checklist deserves a specialist's opinion before you remove contingencies.
How long does a home inspection take?
Most single-family homes take two to four hours, depending on size, age, and condition. A crawl space, attic access, or older plumbing can add time. Plan to attend for at least the final hour so the inspector can walk you through what they found and show you photos. If you are on a tight closing timeline, ask about scheduling early in the day so the report arrives with time to negotiate repairs or credits.
Can a buyer use a DIY checklist instead of hiring a home inspector?
A printable home inspection checklist for buyers is a useful preparation tool, but it cannot replace a licensed inspector. You can note cosmetic issues and ask better questions, yet you will likely miss roof shingle condition, attic ventilation problems, electrical panel defects, and hidden moisture. A professional brings training, tools, and photo documentation that carries weight in negotiations. Use your checklist to stay organized, then let a certified inspector verify the systems that decide whether the house is a sound purchase.
What should buyers do after receiving a home inspection report?
Read the full report within 24 hours and sort findings into safety issues, major defects, and maintenance items. Get quotes from licensed contractors for anything structural, electrical, or plumbing-related so you negotiate with real numbers. Then discuss repair credits or fixes with your agent before contingency deadlines. Keep the report, because it documents property condition and helps you plan maintenance after closing. If the report recommends specialist evaluations, schedule those promptly rather than assuming the worst.
What questions to ask a home inspector should I prioritize?
Ask about licensure and certifications first, such as state license number and InterNACHI or AHIT credentials. Then confirm insurance coverage, how long inspections typically take, and whether you can attend. Ask what the report includes (photos, summaries, repair recommendations) and how quickly it is delivered. Finally, ask whether the inspector performs wind mitigation or four-point inspections if your insurer requires them. Clear answers to these questions tell you whether the inspector is thorough and independent.
